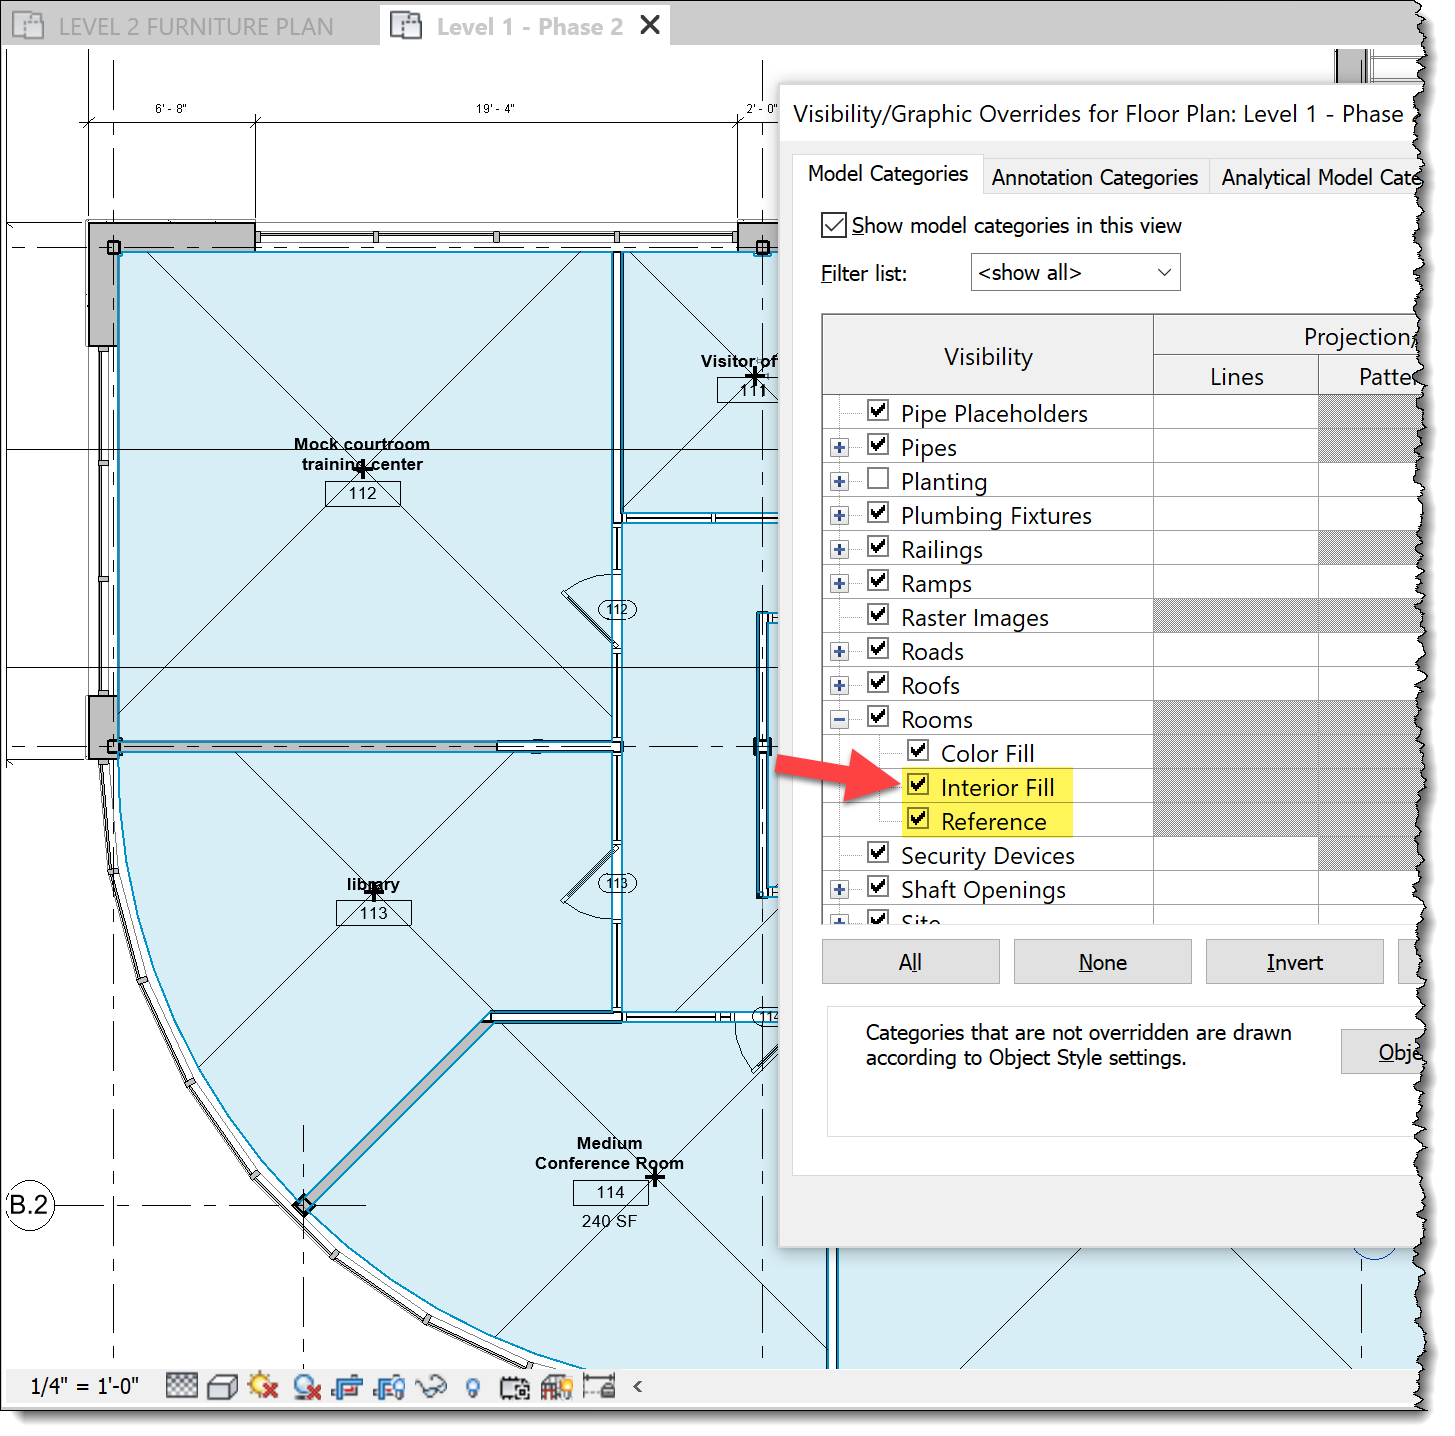
BIM Chapters Revit Room Area Basics Part I
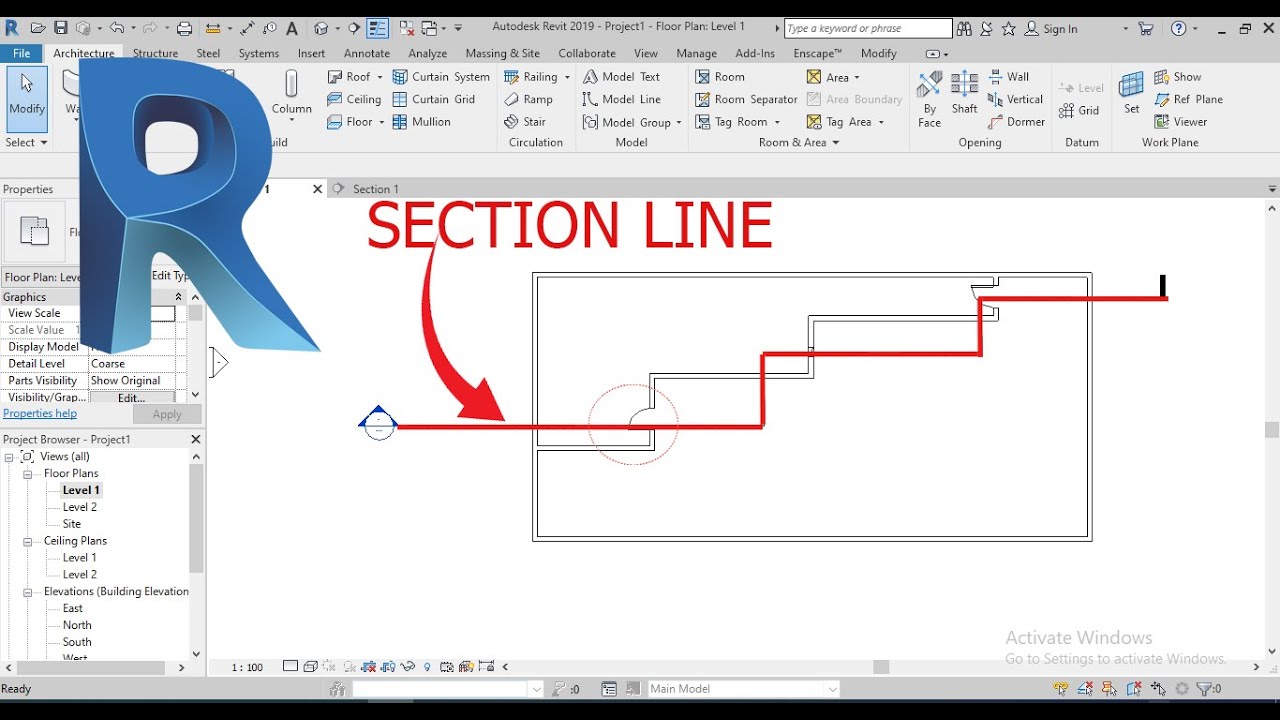
Place the cursor at the starting point of the section, and drag through the model or family. Note: You can snap a section line parallel or perpendicular to a non-orthogonal datum or wall. Snapping to a wall is available in plan views. Click when you reach the end point of the section. The section line and the crop region appear and are selected.
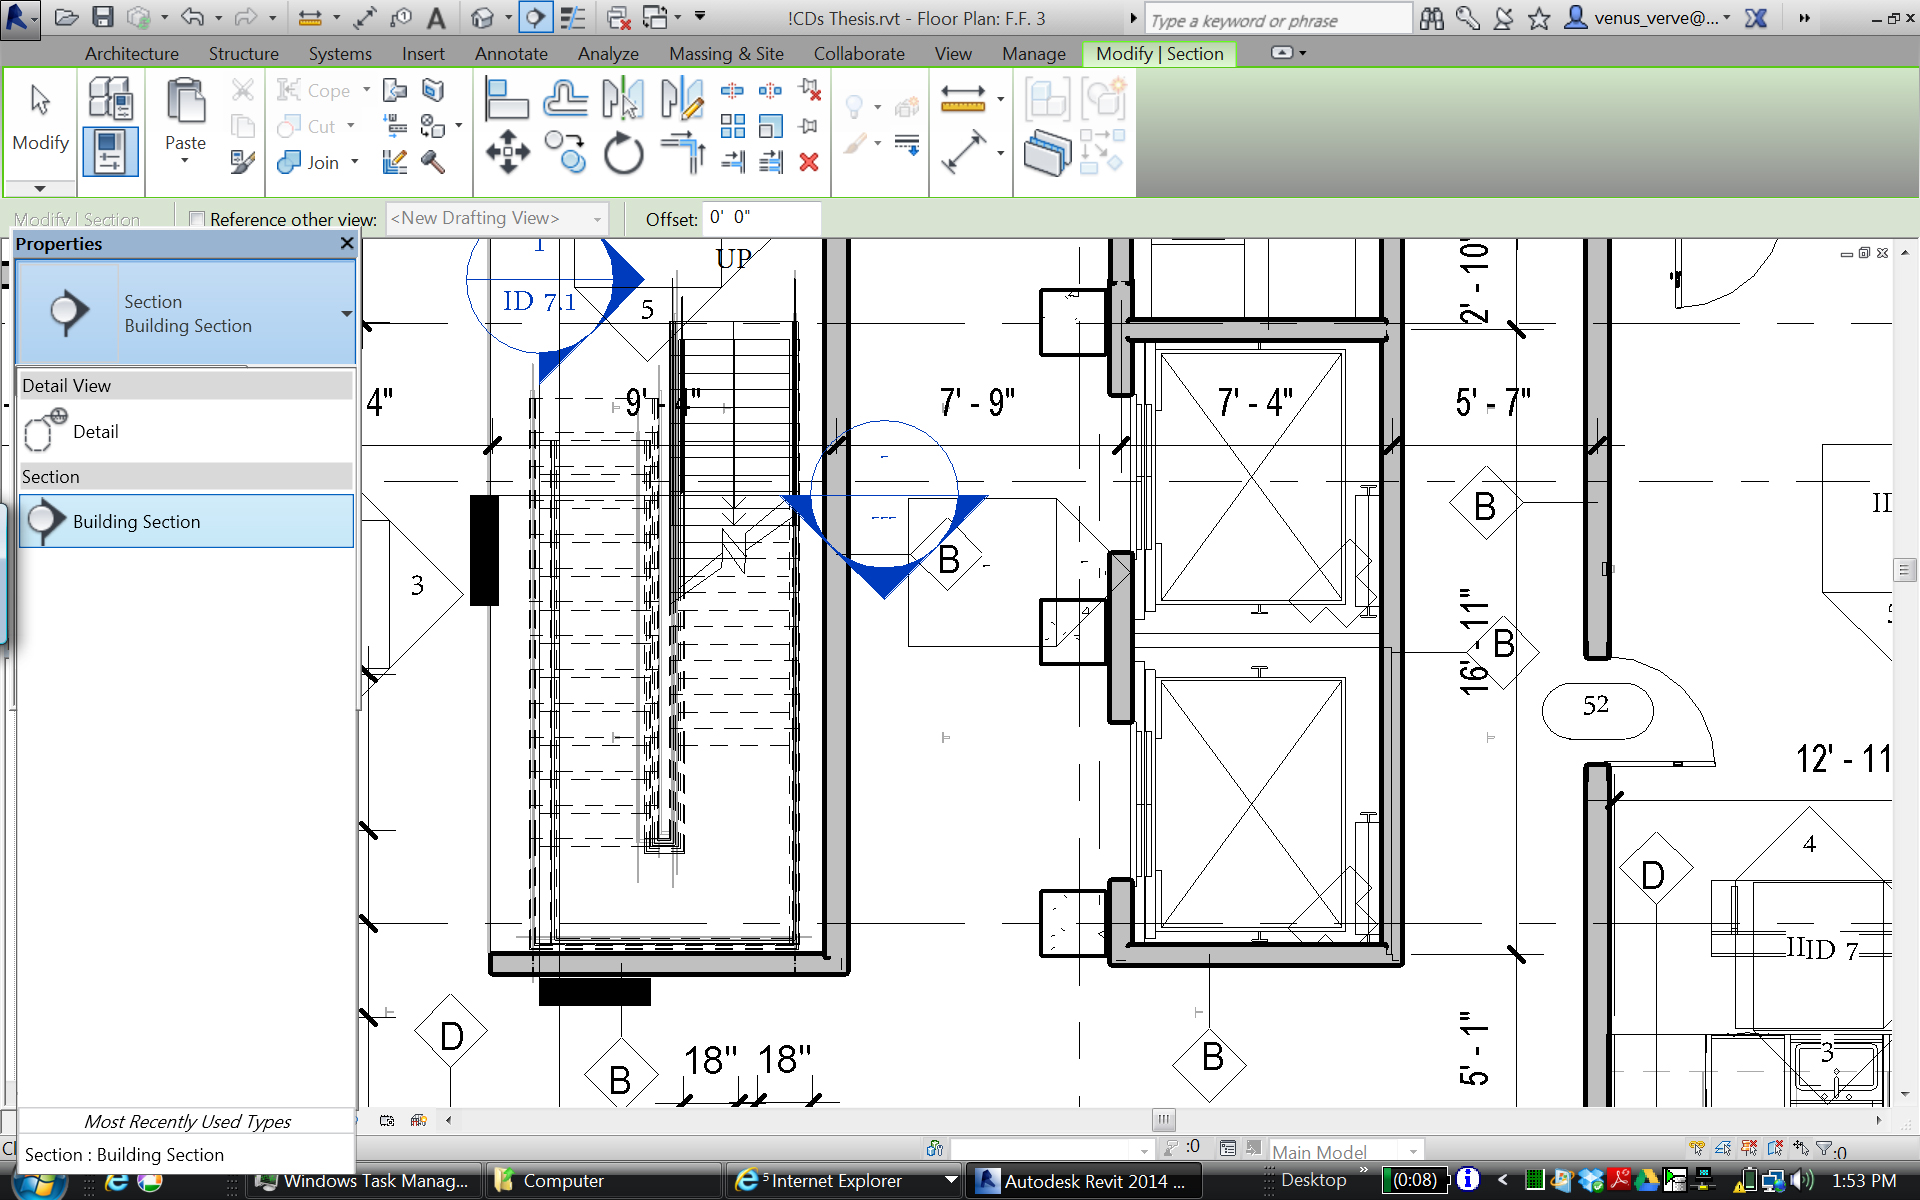
Revit 2014 no Detail Section drop down to create details
Click View tab Create panel (Section). (Optional) In the Type Selector, select a view type from the list, or click Edit Type to modify an existing view type or create a new view type. Note: You can cycle through section heads and section tails by clicking the cycle icon above the section head.

Detailed 3D Section in Revit Tutorial Revit tutorial, Revit architecture, Building information
Click View tab Create panel (Section). (Optional) In the Type Selector, select a view type from the list, or click Edit Type to modify an existing view type or create a new view type. Place the cursor at the starting point of the section, and drag through the model or family.
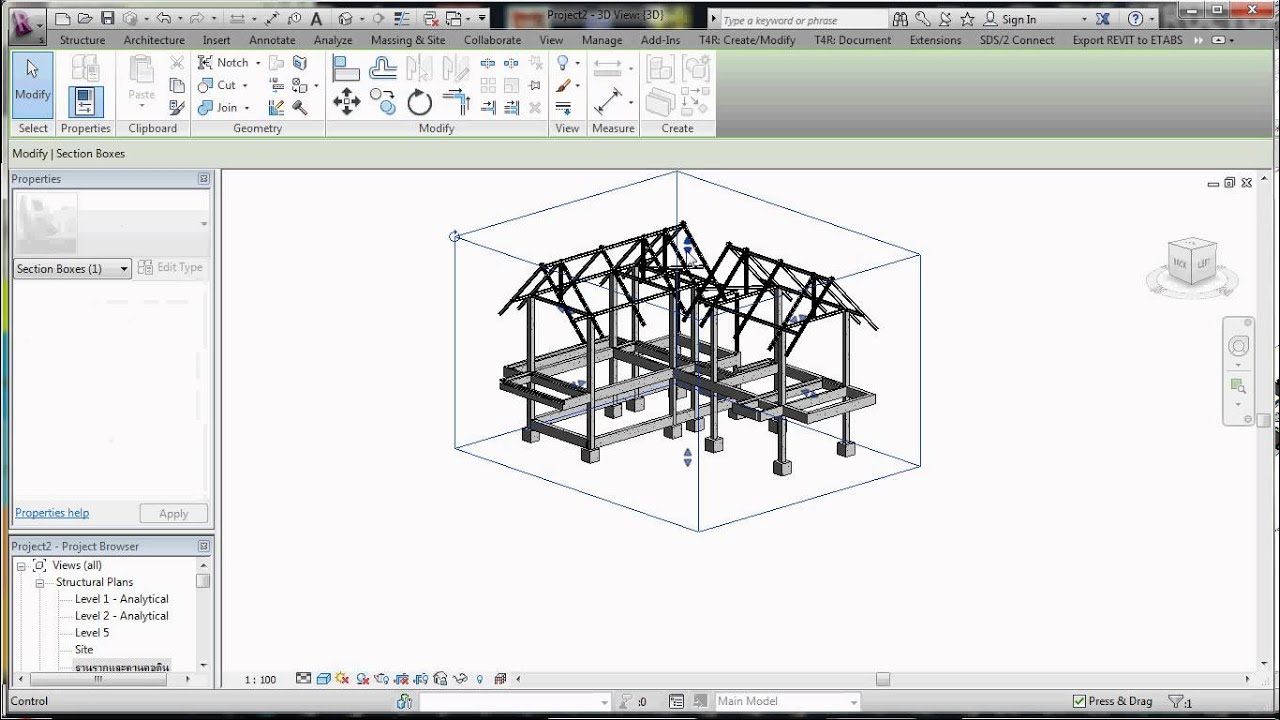
Revit Tutorial Section Box in 3D View YouTube
Turn on the Section Box Use the tile windows featured to open up the perspective camera view alongside the floor plan. With the perspective view selected, turn on the section box. Then, select the section box, which should become visible in the floor plan view.

Revit 0637 Creating a Section View YouTube
Solution: Revit does not support section views where the angle varies within the plane of the section line. If you would like to see this feature in a future version of Revit, please vote up the following Idea: Segment section lines which are not perpendicular To work around the current limitation, as described in the link above you can create multiple section lines, and angle them as needed.
how to create section in revit YouTube
In order to create 3D Perspective Plans and Sections in Revit, you first need to go to your chosen floor plan. From there, create a camera view. Once the Camera view has generated your perspective, "right click" your view cube and proceed to select "Orient to View".

Salukitecture Rendering a Section View in Revit
But we're not just restricted to floors, you can create 3D sections for Floors, Sections, Elevations and 3D Views. 1. Open your project in the default 3D view. 2. Right click on the view cube. 3. Find "Orient to View" in the menu and mouse over it. 4. When it expands it will give you the following options:
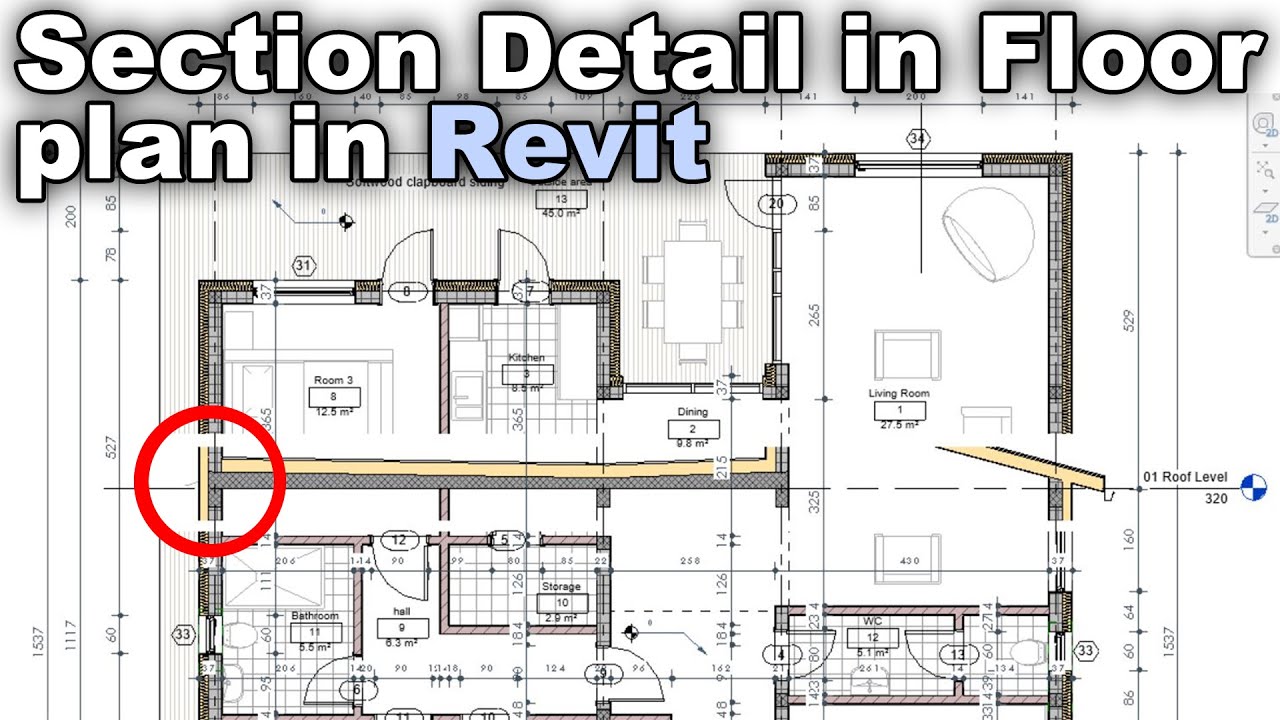
Section Detail in Floor Plan in Revit Tutorial Dezign Ark
In this webinar we will find out how to create Section View in Revit 2020. We will also see how we can edit it by changing the projection levels of the section as well as changing its.

05Create Concrete Footing Autodesk Revit Structure Full Tutorials Structure
Create a Section View Add a section line and crop region to define a new section view. Video: Create Views of Your Model Section and Callout tools create additional views of you model for detailing. Break a Section Line View a section without a section line appearing on the drawing. Control the Line Style of Broken Section Lines

Revit Architecture Tutorial for BeginnersSection View in Revit YouTube
The following is a general procedure for creating a callout or section detail from a view. Your design intentions may differ. You can also use this procedure for imported drawings. You might create a region to show concrete, grass, or sealant.

Beginner Tutorial Section in Revit YouTube
Intro Sections in Revit - Beginner to PRO Tutorial Balkan Architect 580K subscribers 111K views 2 years ago Revit Tutorials - Balkan Architect Get all Revit Courses:.

Revit tutorial section perspective Building information modeling, Revit architecture, Revit
Follow these steps to create the Section-Perspective view you want. From a floor plan view, create a 3D Camera view. (View>3D View>Camera) and place this camera in the direction of the section-perspective you want to use for the section-perspective. Ensure the extent of the view is as far as you desire.

Revit Wall Details YouTube
Method 1 - Selection Box Details: Create a section box around selected elements. Revit doesn't deselect elements when you activate a new view. After selecting a group of elements, switch to the next view, hold down the CTRL key and select more elements to insert into the section box. Steps

Create Section Boxes in Revit (Perspective Sections) Mashyo
if you like please subscribe like and share thanks

Revit Intro Tutorial How to Draft a Wall Section (With Explanation) Part 5 YouTube
Solution: To create a new version of the section head and the section tail, create a new family for each one or use the annotation families from the library. To modify the section head of tail using the existing families, check the steps: In the project, click Insert tab Load From Library panel (Load Family).

Autodesk Revit Creating Section Views YouTube
Open a specific view through which you are supposed to make the section view. It can be a plan, section, elevation, or detail view. Step 2. Go to View tab, then click on Create Panel. Under the options appearing, click the "Section" button. Step 3. Select a view type from the list of view types in the Type Selection.